
How to build a decorative retaining wall

You might be thinking about adding a low barrier that shapes your yard a bit and keeps soil from shifting. I have seen many Calgary homeowners try this on their own, and some of them tell me later they wished they had slowed down and planned the steps more carefully. I get it; the project seems simple at first. Still, a few small choices matter. At Sungreen Landscaping Inc, we work with these features every day, so I notice patterns. Some are easy to fix, some not so much.
I think you will find the work manageable if you take your time. You choose the right stone or block, set a firm base, and keep the layout steady. Nothing fancy. Just practical steps that hold up in our freeze and thaw cycles. I sometimes test a short row of blocks first to see how the line feels. It saves me a headache later.
Perhaps you already have an idea for the shape you want. Or you might still be deciding. Either way, the process stays roughly the same. You prepare the ground, place each course with care, and check alignment often. It sounds simple, but I have learned that patience carries the project farther than any tool. If you approach it with that mindset, your yard gains a feature that stays solid for years.
Choosing suitable materials for a small outdoor support structure
I think many people start this project by picking stones based on looks. I have done that myself once or twice, then changed my mind later. You may want something that feels solid and holds its shape through our colder seasons. Calgary weather can shift fast, so the material you choose needs to handle moisture and freezing without cracking. Some products do better with that than others.
Concrete blocks are common. They stay steady, and the sizing helps you keep each course straight. Natural stone works too, though I find it slower to arrange. Each piece is slightly different, so it takes patience. You might like the texture, or you might prefer the uniform lines of block. Both options last if you set a firm base.
What you should look for
You want pieces with enough weight to stay put. Light units tend to shift. If you can, compare a few block styles in person. Hold them. Check the texture. I do this on job sites all the time because the feel of the piece tells me more than the label on the pallet.
Before you buy
Measure the length of the area. Add about ten percent for cuts. If you skip that, you will end up short, and that slows the job. Think about colour too. Some shades fade faster than others. I have seen darker units keep their tone better through Calgary summers. Your choice should match the space around it, though I would avoid going too light because dust shows quickly.
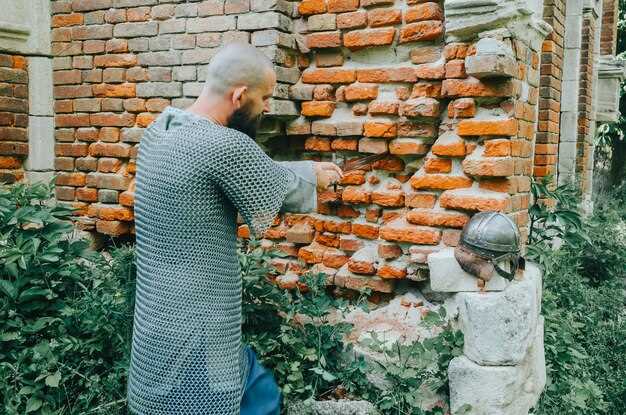
Preparing the ground and setting a stable base layer
You start by clearing the area. I usually scrape off loose soil until I reach firm ground. It feels slow, but skipping this part leads to sinking later. Some homeowners tell me they rushed it once, then called landscaping retaining walls teams to fix the slope. A solid base saves you from that.
I think it helps to check moisture levels. If the soil stays wet, you may need extra gravel. Calgary yards vary a lot. One side of a yard can drain well, while the other side holds water. You will notice it when you dig. Add crushed rock, pack it with a plate compactor, then check the surface with a long level. Keep the layer straight. Even small dips throw off the first course of your block system.
Setting the foundation layer
Most crews, including ours, use 4 to 6 inches of compacted gravel. It keeps the structure steady. Lift the gravel with a flat shovel, spread it evenly, then tamp it hard. I sometimes repeat the compaction twice, especially on soft ground. If you feel movement under your boots, add more material. You want a surface that stays firm.
Some property owners compare options through landscaping and retaining walls guides, though many prefer speaking directly with trained crews. If the grade is tricky or the soil shifts, calling experienced retaining wall contractors can prevent mistakes.
Final checks before laying the first row
Stand back and look at the line. It should feel straight. If anything seems off, fix it now. I have learned that small corrections at this step make the rest of the project far easier. Take your time. Your structure needs this base to stay true through seasons with freeze and thaw.
Stacking blocks with proper alignment and drainage gaps
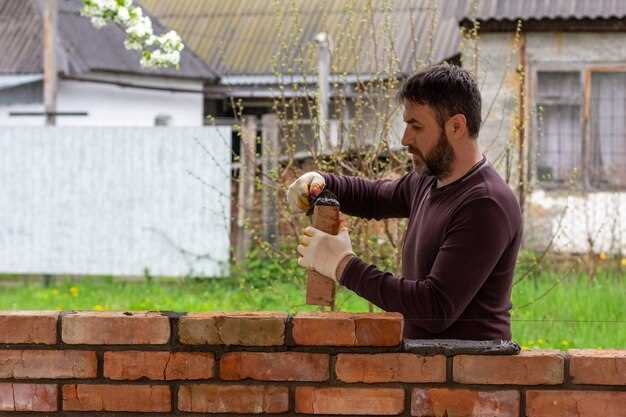
You reach the point where the base is ready and the first course needs to sit straight. I usually place a few blocks without locking anything in, just to see how the line feels. It helps me notice small dips. You want each unit to touch the next with no wobble. A rubber mallet works well for settling them. Tap lightly. If you hit too hard, the surface shifts.
The second row shapes the structure. Offset each unit so the seams do not line up. It gives the project a steady feel. I check the level often. Every two or three units, I stop and look again. Sometimes I catch myself adjusting more than needed, but it is easier to fix small issues now than later. Cold weather around Calgary makes gaps freeze and expand. Straight lines matter.
Maintaining drainage gaps
Good water flow behind the structure keeps pressure low. I think many homeowners overlook this part. Leave narrow spaces behind the blocks, then fill them with clean gravel. It keeps soil from pushing forward. If you have a tall build, place a perforated pipe behind the first course. Wrap the pipe in fabric to keep silt out.
Some crews prefer a simple pattern during stacking. Others mix small and large units. Either way, keep the backfill even. Add five to six inches of gravel, then compact it slightly. Repeat this as you go higher.
- Offset seams to avoid weak points.
- Use clean gravel for drainage.
- Compact backfill in thin layers.
- Check the line with a long level often.
- Add a perforated pipe for taller builds.
You may notice the project feels slower at this stage. That is normal. Accuracy here keeps the structure steady once winter moisture freezes, thaws, and shifts through the season.
Finishing the structure with cap blocks and joint stabilization
You reach the final rows, and the project feels close. The top pieces give the whole structure a clean shape. I usually dry fit each cap first. It helps me see slight gaps. Blocks from different pallets of retaining wall blocks in Calgary can vary a bit, so testing the fit saves time.
Once you line them up, lift each cap and place a thin bead of concrete adhesive along the top course. Press the cap down gently. I tend to move it side to side a little, just a few millimetres, to seat it. Check the angle from the yard side and then from above. A small shift can stand out once the project is done.
Stabilizing joints
With the caps secured, you deal with the spaces between units. Keep the joints narrow. Sweep fine stone into the gaps. I prefer polymeric sand for most projects because it locks after a light mist of water. Try not to overwater. A light spray works better than a steady stream. If you soak it, the material washes out and leaves pockets.
This stage often raises small questions. For example, some people wonder if they should fill the joints all the way to the top. You can, but leaving them slightly below the surface keeps the caps cleaner through winter. Ice tends to shift less that way.
If the structure is long, check the alignment of the entire top row once more. Sometimes I take a photo and look at it on my phone. It reveals uneven spots that are harder to notice in person. When things look right, you are finished. If any part feels off, a small fix now is easier than calling a retaining wall contractor later.
Q&A
What type of stone or block should I choose for a small backyard structure?
For a compact outdoor barrier, many people prefer concrete units because they are uniform and stack easily. Natural stone adds texture and a more organic look, but it can take longer to fit together properly. You should also consider local climate; in Calgary, freeze and thaw cycles are important, so pick materials that resist cracking. Holding the pieces in your hands before buying can give a better sense of weight and durability.
How deep should I dig before placing the first layer?
The first layer needs to sit on firm, stable soil. Usually, removing 4 to 6 inches of loose topsoil and adding a compacted gravel base works well. If the ground feels soft, add more gravel and compact it until it feels solid underfoot. A level surface is critical, because small dips at the base create uneven courses later. Some homeowners add a slight slope to help water drain away from the structure.
Do I need to leave gaps for drainage between the blocks?
Yes, allowing small spaces behind the units prevents soil pressure from pushing outward. Fill the gaps with clean gravel. For taller structures, a perforated pipe behind the base helps channel water. Wrapping the pipe in fabric keeps silt from clogging it. Even for shorter barriers, simple drainage ensures the units stay stable through wet seasons and ice formation. Checking the slope and ensuring water can escape makes a big difference over time.
What is the best way to finish the top row and secure the joints?
Cap pieces on the top give the structure a neat appearance and add stability. Dry fit them first to check alignment. Then use a thin layer of concrete adhesive under each cap. Sweep polymeric sand into the joints and lightly mist it with water so it locks in place. Avoid heavy water, as it can wash out the filler. Taking photos from different angles helps spot uneven areas before the adhesive sets. Small adjustments now save a lot of trouble later.


