
How to build a stone retaining wall

You look at a sloped yard and think about soil that keeps slipping after a wet spring. I have had that thought too, standing in a Calgary backyard, boots muddy, wondering what would actually last through another freeze and thaw cycle. A solid grade holding structure made from natural blocks can calm that ground and give you usable space. It is not magic. It is careful work, patience, and a few choices that matter more than others.
In this city, ground moves. Frost can reach 1.2 metres in a hard winter, and meltwater has a habit of finding weak spots. That means depth, drainage, and base prep are not optional ideas. They are the difference between something that stays straight after five years and something that leans by the second spring. You might hear different opinions. I think a compacted gravel base of about 150 to 200 mm usually holds up well here, though soil type can push that number.
You also need to think about the material itself. Natural blocks vary. Some pieces are dense and flat, others less so. Mixing sizes can help lock everything together, though it takes more time. I have seen tidy rows fail because water had nowhere to go. A simple gravel backfill and a perforated drain line can move water away from the structure. It feels like extra effort at the time, perhaps it is, but skipping it shows later.
If you want this done right in Calgary conditions, Sungreen Landscaping Inc focuses on these grade holding systems every season. They work with local soils and weather, and that experience shows in the details you do not notice at first glance. You can take parts of this on yourself, or you can hand it off. Either way, knowing what goes into the process helps you ask better questions about your yard.
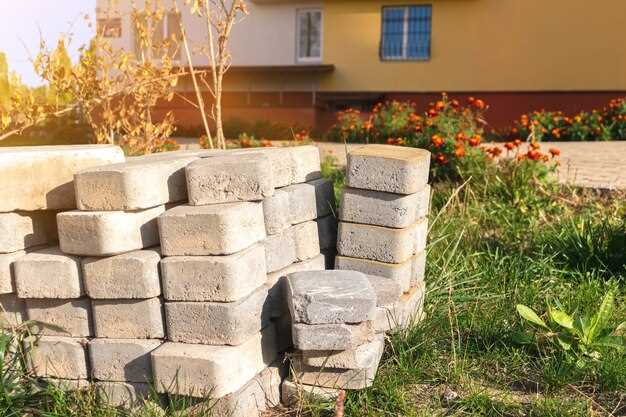
Putting together a gravity support course with natural rock
You work from the ground up, slowly. The slope decides most choices. Walk it after rain. Check where water pauses. If puddles show up, expect pressure later. Dig past soft soil until you hit firm material. In Calgary yards, that depth often lands around 250 mm, sometimes more. I think deeper feels safer, though it adds time.
Setting the first course
The first row carries everything above it. Place larger rock pieces here. Set them level from side to side, then tilt them slightly back toward the slope, about 10 mm per 300 mm. That small lean helps resist soil push during freeze and thaw. Tap pieces into place with a dead blow mallet. Adjust often. It never stays perfect on the first try.
Backfill with clear gravel as you go. Pack it in layers. Water moves through gravel faster than soil, which reduces pressure after snow melt. A perforated drain line at the base sends runoff away. Slope that pipe at least 1 percent. Small numbers matter.
Height, spacing, and local limits
As the course rises, stagger joints so seams do not line up. This spreads load. For heights above 900 mm, city rules may apply. Permits and stamped drawings can come into play. This is where Sungreen Landscaping Inc often helps homeowners. They deal with Calgary bylaws and soil reports weekly.
Finish with a gentle grade away from the structure. Check it after the first heavy rain. You might see a low spot. Fix it then. These systems reward patience. They punish shortcuts. If you stay attentive, the result holds through seasons that test everything outdoors.
Site evaluation, measurements, and layout marking
Before placing any heavy blocks, you need to look closely at your yard. Walk the slope, note where water pools after a rain, and check for soft spots. These details affect how your grade holding structure performs over time. Sometimes, what seems minor–like a low patch near a fence–can turn into pressure points once soil saturates. That’s why planning carefully matters if you want a retaining wall in Calgary that lasts.
Measurements come next. Measure length, height, and setback distances. Use a tape and stakes, then snap chalk lines. Small errors now can cost hours later. I usually double-check the angles, even if it feels like overkill. You will thank yourself when each row sits evenly. Consider slopes around 2 to 5 percent away from your blockwork. It helps prevent water from pushing against the base.
Marking the layout clearly is critical. Flag corners and place string lines along top edges. Note any planned curves or steps; irregular shapes need extra attention. You can jot down numbers on stakes or even take photos for reference. Seeing the lines in daylight makes adjustments easier than later during actual placement. For guidance on similar projects, you might look at how do you build a brick retaining wall. Techniques for alignment and leveling translate well to natural block systems.
Once the layout is set, step back and walk the area. You may notice slope issues or minor adjustments that matter. This quiet inspection saves frustration later. It feels cautious, perhaps even tedious, yet it makes every next step smoother when you finally start stacking pieces.
Foundation trench depth, base material, and compaction steps
Starting with a solid trench is key. Depth depends on soil type and height of your grade support structure. In Calgary, a typical depth ranges from 250 to 300 mm below finished grade. Clay requires a little more, sandy soil slightly less. You want firm ground beneath, otherwise settling occurs quickly. For advice on full projects, check landscaping and retaining walls.
Choosing base material
Crushed gravel works best. Around 20 mm pieces pack tightly and allow water to drain. Avoid rounded rock; it shifts. Spread in layers of 75 mm or so. Each layer should get compacted before adding the next. Some people skip this. I would not. Compaction prevents settling and tilting over time.
Compaction and leveling steps
Use a plate compactor on each layer. Check level from front to back and side to side. Adjust with a rubber mallet if needed. A slight tilt toward the slope, about 10 mm per metre, helps resist pressure. Keep tools handy and work steadily. Rushing leads to uneven courses later. You can see examples and methods at how to build a retaining wall.
| Step | Action | Notes |
|---|---|---|
| 1 | Excavate trench | Remove loose soil, check depth 250–300 mm |
| 2 | Spread first gravel layer | Approximately 75 mm thick, check for firm contact |
| 3 | Compact layer | Plate compactor, check level |
| 4 | Repeat gravel layers | Continue until total depth reached |
| 5 | Final leveling | Check front-to-back and side-to-side |
Following these steps carefully reduces shifting later. Small adjustments now prevent big fixes after winter. Patience at this stage pays off for stability and longevity.
Rock selection, placement pattern, and course alignment
Choosing the right blocks affects stability and appearance. You want pieces that are dense and fairly flat. Uneven or fragile pieces can shift under pressure. I usually pick larger blocks for the base, then mix sizes as I move up. Some people insist on uniform sizes. That works visually, but mixed dimensions can lock better if done carefully.
Placement matters more than it seems. You should stagger joints between courses so seams never line up. That spreads load and improves strength. Keep each piece tight against its neighbor. A small gap lets gravel fill in and aids drainage. Adjust with a mallet and check level often.
- Start with the largest, flattest blocks for the first course
- Stagger joints in each subsequent layer
- Mix sizes for locking stability
- Tap each block into place and check level
- Fill minor gaps with gravel for drainage
Course alignment can be tricky, especially on curves. String lines help, though you may need to tweak as you go. Step back often. Sometimes a piece looks fine up close but throws the line off from a distance. You want each course level from side to side and slightly tilted back toward the slope, around 10 mm per metre. That tilt resists soil pressure over time.
Finally, keep notes of your pattern and placement. It sounds excessive, but when you pause or return days later, it prevents mistakes. Following these practices keeps your Sungreen Landscaping Inc project solid and long-lasting.
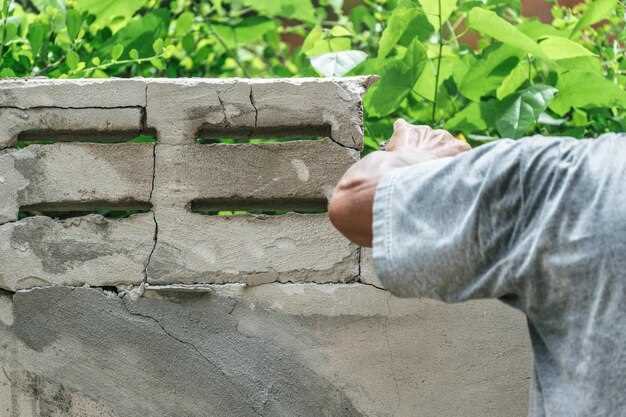
Drainage layer setup and backfill techniques behind the structure
Water management behind your grade support system is critical. Without proper drainage, soil pressure increases and courses can shift or lean over time. A clear gravel layer immediately behind the first row helps move water downward and away. In Calgary, frost can push trapped moisture, so even a small oversight shows later. For professional guidance, a retaining wall contractor can advise on local soil and slope conditions.
Backfill should be placed in layers of 150 to 200 mm, compacted lightly but consistently. Avoid clay-rich soil close to the structure; it traps moisture and adds pressure. Gravel works best. Use a perforated pipe at the base, sloped around 1 percent away from the property. Cover it with filter fabric to prevent clogging. This combination keeps water moving and reduces maintenance later.
- Lay 150 mm layer of crushed gravel behind first row
- Install perforated drainage pipe at base
- Cover pipe with fabric and more gravel
- Backfill with native soil in layers, compact lightly
- Check slope away from structure after each layer
Step back frequently to check alignment and drainage. Small adjustments now prevent major repairs after snow melt or heavy rain. Taking these steps carefully ensures your support system remains straight, functional, and durable for years. Consistent attention to detail here makes the difference between a short-lived installation and a long-term solution.
Questions and answers:
What depth should I dig for a stable base?
The trench depth depends on soil type and the height of your structure. In Calgary, a general guideline is around 250 to 300 mm below finished grade. Clay soils may require slightly deeper excavation, while sandy soil often needs less. The key is to reach firm, uncompacted ground to prevent settling and leaning later. Adding a compacted gravel base in the trench improves stability and drainage.
Which type of blocks work best for the first row?
Use the largest, flattest pieces for the first layer. These carry most of the weight from above, so stability is crucial. Irregular or fragile blocks can shift under pressure, leading to uneven courses. As you move up, smaller or mixed pieces can be incorporated for better locking, but the first row should be solid and level from side to side. Adjust with a mallet and check with a level to ensure a straight start.
What’s the best way to manage water behind the structure?
Install a layer of crushed gravel immediately behind the first row and include a perforated drain pipe at the base. Cover the pipe with filter fabric to prevent clogging and slope it about 1 percent away from your property. Backfill in 150–200 mm layers and compact lightly. Avoid clay-rich soil directly against the blocks, since it retains moisture and increases pressure. Proper drainage reduces shifting and extends the life of your grade support system.
How should I align each course on uneven ground?
Use string lines to guide the top edge and step back frequently to check visual alignment. On curves, adjust each piece gradually. Make sure each course is level from side to side and slightly tilted back toward the slope—around 10 mm per metre—so soil pressure is directed safely. Small adjustments as you go prevent bigger corrections later. Patience pays off here, as rushing leads to uneven layers.
When do I need a permit or professional help?
If your structure exceeds roughly 900 mm in height, local rules may require a permit and engineered drawings. Tie-back systems or reinforced designs might be necessary for taller installations. Even for smaller systems, consulting a retaining wall contractor can save time and prevent mistakes. Professionals know local soil conditions, frost depth, and proper drainage methods, which makes a difference in long-term stability.
What kind of base is required to keep the structure stable over time?
For long-term stability, a compacted gravel base is recommended. Dig down to firm soil, usually around 250 to 300 mm below finished grade in Calgary, then add crushed gravel in layers of 75 mm and compact each layer. This prevents settling and allows water to drain away from the base. A poorly prepared foundation often leads to leaning or shifting over the first winter, so spending extra time on this step pays off.
How can I prevent soil pressure from pushing the blocks forward?
Drainage behind the structure is key. Place a layer of crushed gravel immediately behind the first row and install a perforated pipe at the base sloping away from the property. Backfill in 150–200 mm layers and compact lightly, avoiding clay-rich soil close to the structure. Stagger the courses and tilt each row slightly back toward the slope, about 10 mm per metre. These steps help keep soil pressure from causing leaning or bulging over time.


